Configuring a proxy server on Windows 11 correctly
06/26/2025
In this guide, we’ll explain how to set up a proxy server on Windows 11.
Proxy Setup Options on Windows 11
There are several ways to configure a proxy server in Windows 11. Here are the three main methods:
Automatic Setup
This is the simplest method, suitable for most users. You can use special programs that scan the network to determine proxy server settings, though this method isn’t always reliable and may lead to incorrect configuration. Instructions:
- Click the Start button in the lower-left corner of the screen.
- In the menu, select Settings.

- In the Settings window, go to Network & Internet.
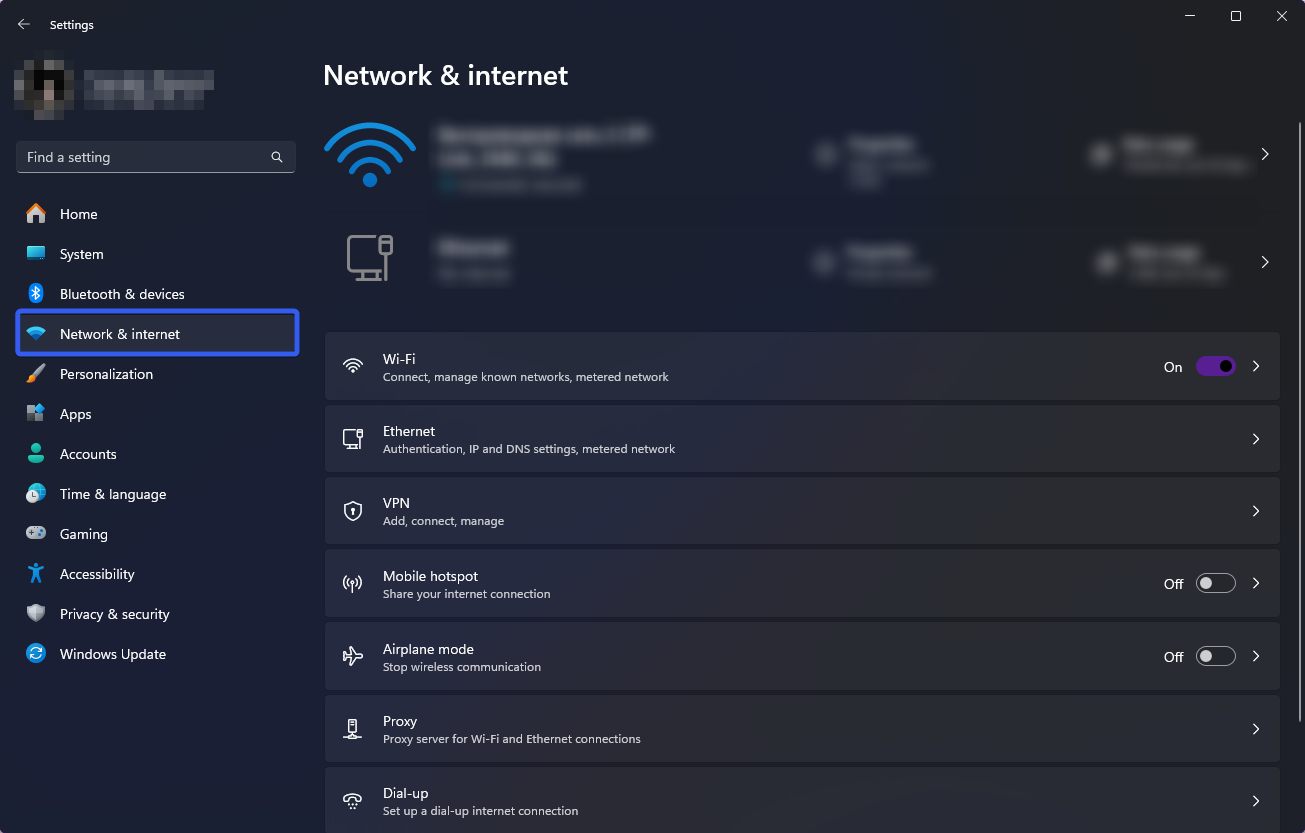
- Under Network & Internet, select Proxy.
- In the Proxy section, enable the Automatically detect settings option.
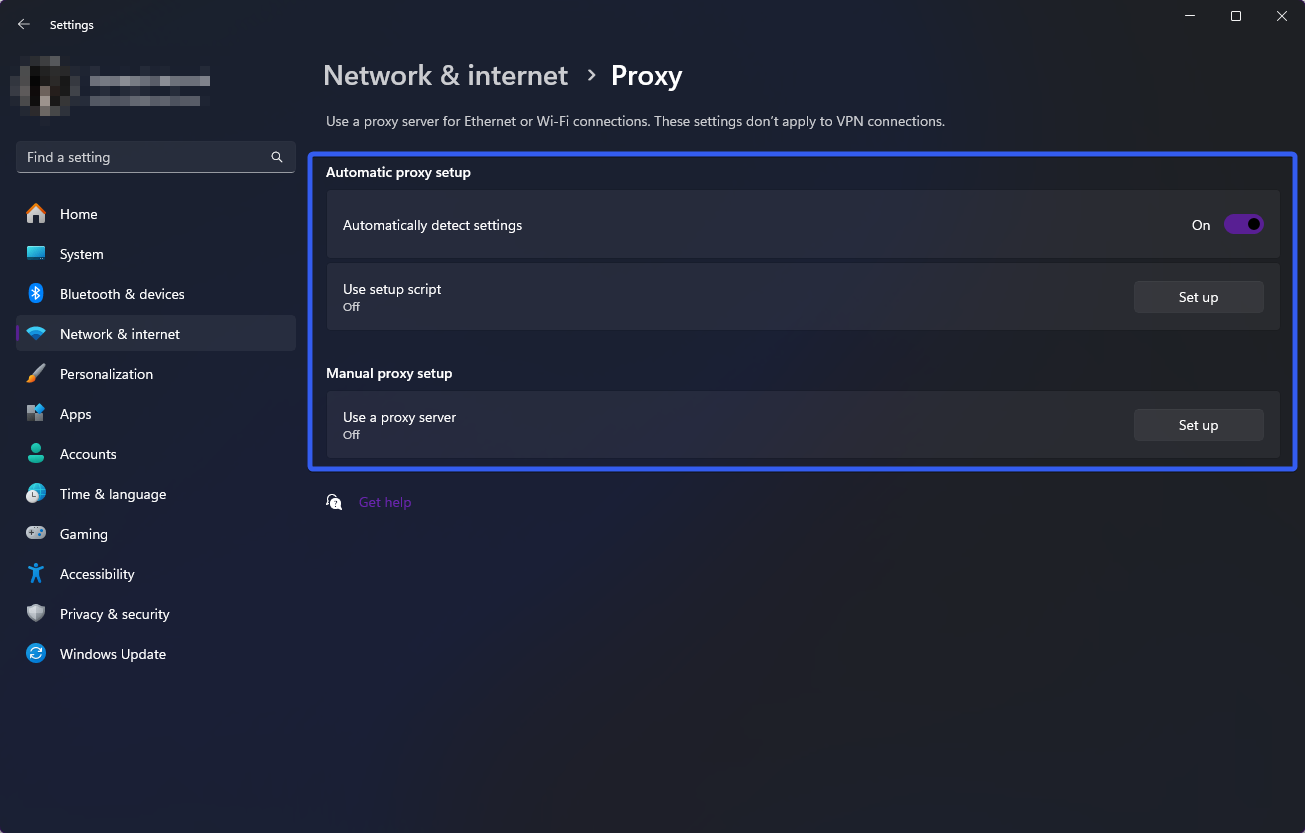 With this option enabled, your computer will automatically search for and configure a proxy server.
Manual Setup
If you want more control over the setup process, manual configuration is a good choice. You’ll need to open the Windows 11 control panel, go to Network & Internet, then select Proxy and enter the IP address and port of the proxy server. Instructions:
- Click the Start button in the lower-left corner of the screen.
- In the menu, select Settings.
- In the Settings window, go to Network & Internet.
- Under Network & Internet, select Proxy.
- In the Manual proxy setup section, next to Use a proxy server, select Set up.
- In the Edit proxy server dialog:
- Enable Use a proxy server.
- Enter the proxy server IP address and port in the respective fields.
- To exclude certain websites, add their addresses to the exception list.
- Check or uncheck Don’t use the proxy server for local addresses (intranet), depending on your organization’s needs.
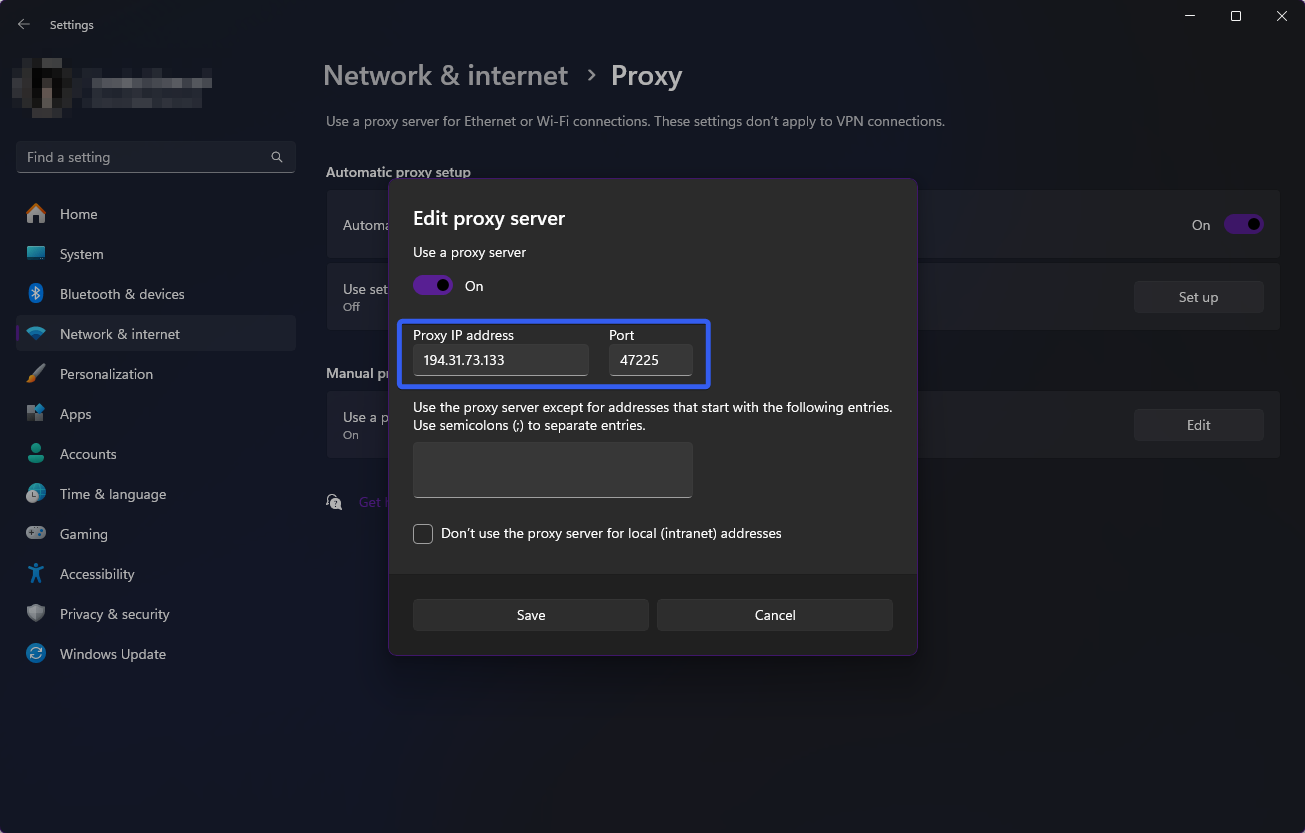
- Click Save to finish the setup.
Setup via Script
This option is suitable for advanced users familiar with the Windows command line. You create a file with a .bat or .cmd extension containing commands to set proxy server parameters. Instructions:
- Click the Start button in the lower-left corner of the screen.
- In the menu, select Settings.
- In the Settings window, go to Network & Internet.
- Under Network & Internet, select Proxy.
- If you or your organization uses a setup script, select Set up next to Use setup script.
- In the Edit setup script dialog, enable Use setup script.
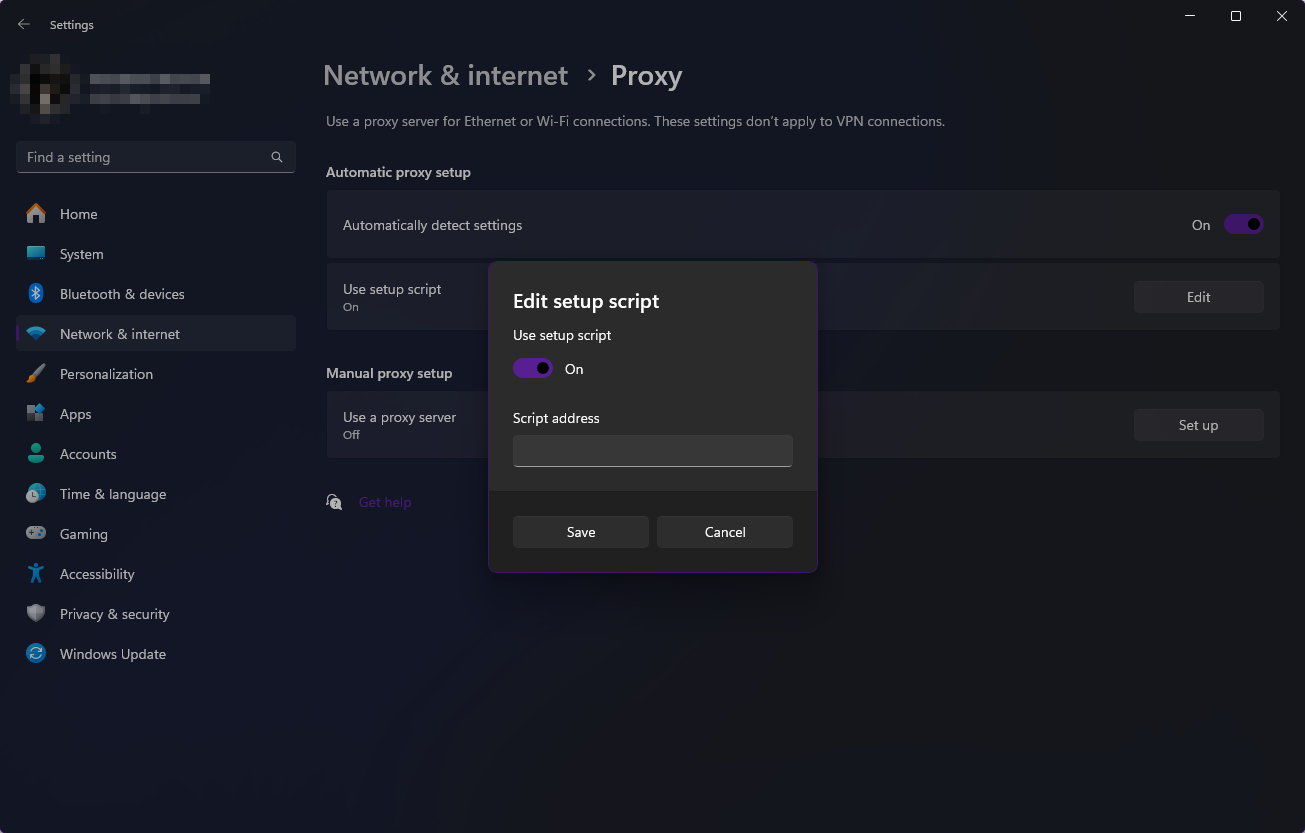
- Enter the script address in the appropriate field and click Save.
How to Choose a Reliable Proxy Server
When choosing a reliable proxy server, consider factors such as:
- Connection speed and stability
- Level of anonymity
- Geographic location
- Support for required protocols and ports
The Belurk service offers a wide range of proxies with various types and geographic locations that meet these criteria. Our proxies provide high data transfer speeds without delays or interruptions, complete anonymity, and support for necessary protocols and ports. Our experts are ready to help with any installation questions, ensuring high quality and reliability.
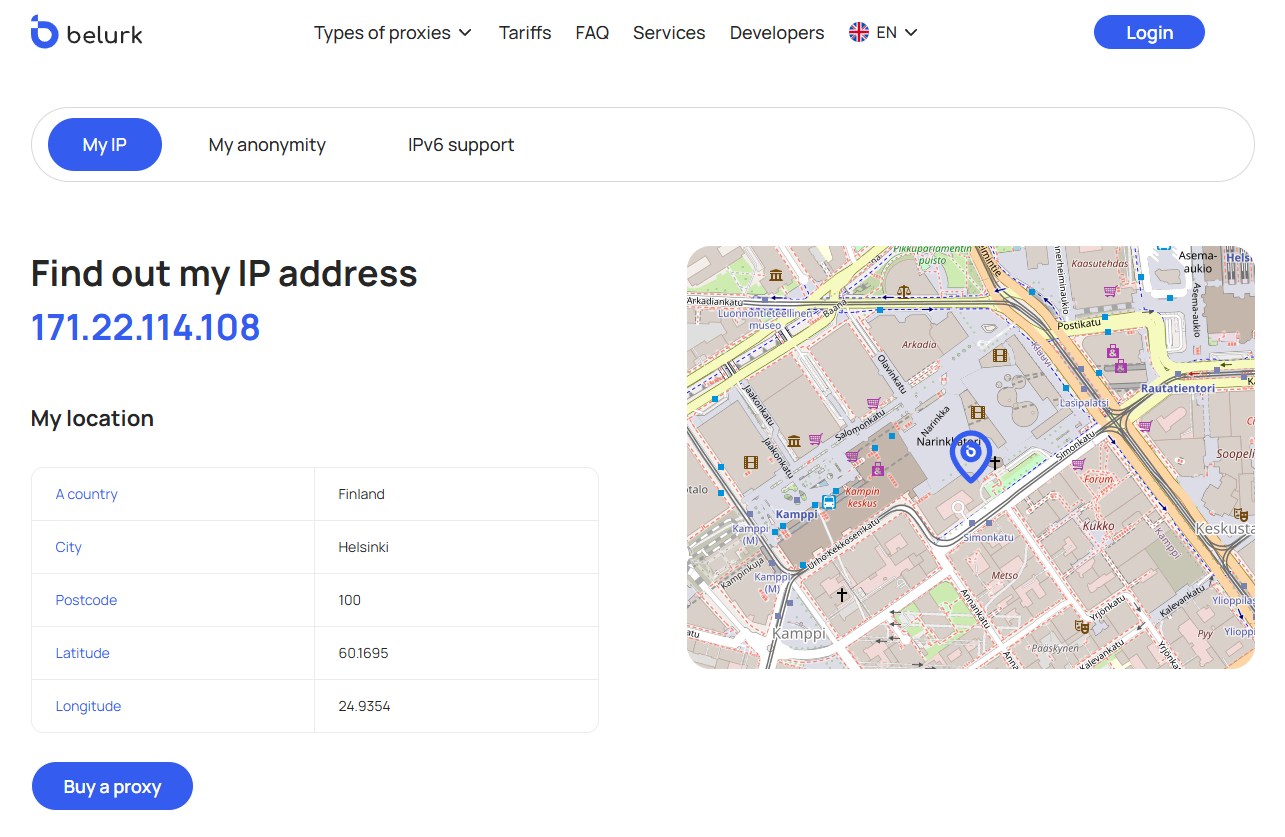
How to Test Proxy Server Settings
To test your proxy setup, you can use online services that show your current IP address and indicate whether a proxy is being used. Simply go to one of these sites and check the displayed IP address. If it differs from the one specified in the proxy settings, then everything is set up correctly.
Note: Incorrect proxy configuration can lead to connectivity issues or data leaks, so thoroughly check any new proxy server before use.
How to Disable Proxy Server on Windows 11
To disable the proxy server in Windows 11:
- Click the Start button in the lower-left corner of the screen.
- In the menu, select Settings.
- In the Settings window, go to Network & Internet.
- Under Network & Internet, select Proxy.
- In the Proxy section, turn off Use a proxy server. After these steps, the proxy server will be disabled, and your device will connect directly to the internet.
For secure and worry-free internet use, we recommend private proxies that ensure data safety!
Try belurk proxy right now
Buy proxies at competitive prices