Setting up a proxy server on the router - detailed instructions
12/27/2024A proxy for a router is an intermediary server that acts as a bridge between your device and the internet. When using a proxy, all requests to access websites and services are first sent to the proxy server, which then forwards them to the desired resources on the internet. Responses from these resources are also sent back to the proxy server before reaching your device.
Why Configure a Proxy Server for Your Router?
-
Traffic Management
Proxy servers can help distribute internet traffic more effectively. They can cache (temporarily store) data, allowing faster access to frequently visited websites and reducing the load on your internet connection. -
Improved Security
Using a proxy can enhance your network's security. A proxy server can hide your IP address, making your online presence more anonymous and protected from potential threats. -
Content Filtering
Proxy servers can control access to specific resources or services within your network. This is particularly useful in family or educational settings to manage internet content accessibility. -
Anonymous Internet Access
If you need to conceal your location or identity, a proxy server can help. It allows you to browse the internet more anonymously.
Configuring a Proxy Server on Your Router
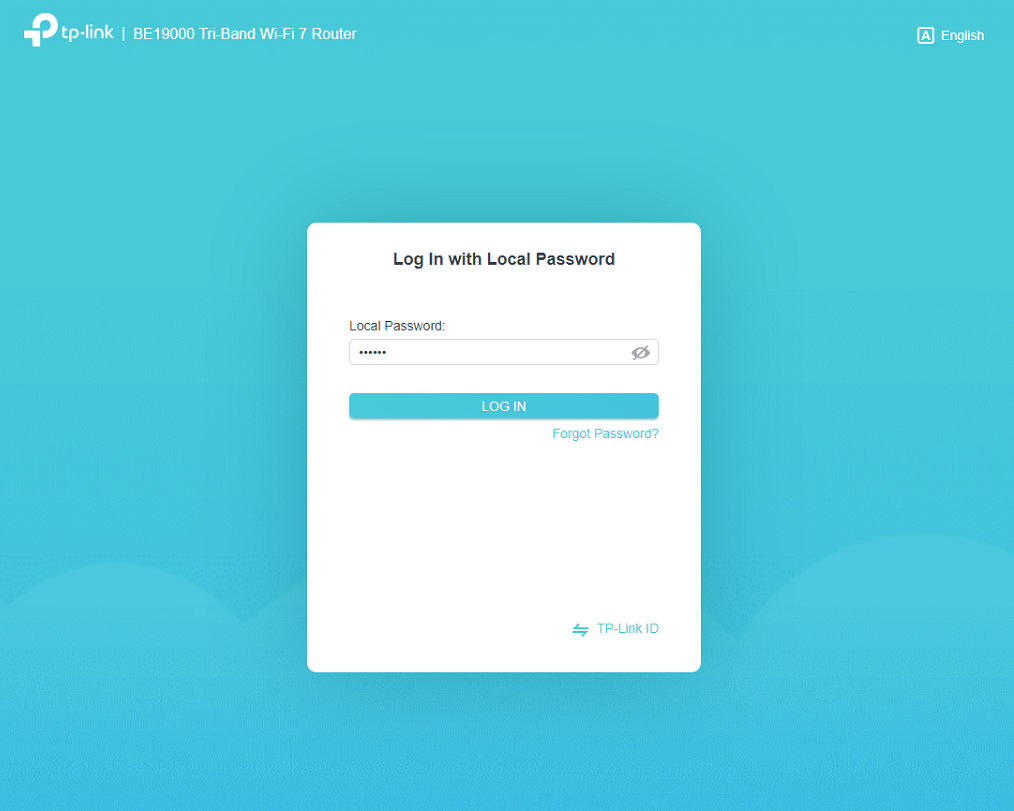
Step 1: Connect to the Router
- Turn on the router and ensure you have access to the admin panel.
- Open any web browser and enter the router's IP address (usually 192.168.1.1 or 192.168.0.1) into the address bar. Press ENTER.
- Log in using the username and password (commonly "admin"). Check your device for default credentials if needed.
 Step 2: Configure IP Parameters
 - In the settings panel, locate and click the globe icon.
- Navigate to the "IPoE" tab and select "ISPBroadband Connection."
- Find the "Network Connection Options" section and enable manual IP configuration.
- Fill in the following fields:
- IP Address
- Subnet Mask
- Default Gateway
- DNS 1
- Click Apply.
Step 3: Disable IP MP Proxy
- Go to the "Home Network" section and select "Computers."
- Locate the "IP MP Proxy" option and uncheck it to disable the function.
Step 4: Configure ProxyUDP HTTP
- Find the gear icon in the bottom menu.
- Select "Update" or "Components" and activate the "ProxyUDP HTTP" utility. Then perform the update.
Step 5: Enable UPDXY Server
- In the bottom menu, go to "Applications" or "Home Network > Computers."
- A new window will open; click Enable UPDXY Server.
- Enter the following values:
- Port Number: Your port
- Timeout: 15
- Signature Interval: 30
- Select the "Broadband Connection" or "Internet Service Provider" channel.
- Click Apply.
Step 6: Verify the Connection
After successfully setting up the proxy, all devices connected to your router will automatically use it for internet access. To verify the setup, open a web browser and ensure your IP address matches the proxy server's IP.
Additional Features
Some routers may offer extra features for proxy configurations, such as:
- Traffic filtering rules.
- VPN tunneling setup.
- Other advanced options.
How to Obtain a Proxy Server
Setting up a proxy server might seem challenging, but it’s relatively simple with reliable services like Belurk.
Step 1: Choose the Proxy Type
Decide which type of proxy suits your needs:
- HTTP/HTTPS: Suitable for browsing web pages.
- SOCKS5: More versatile, supporting various traffic types.
- Anonymous Proxies: Hide your identity online.
- Rotating Proxies: Change IP addresses at specified intervals.
Step 2: Register on Belurk
- Visit the Belurk website.
- Create an account by entering your email address and setting a password.
- Confirm your account via the email confirmation link.
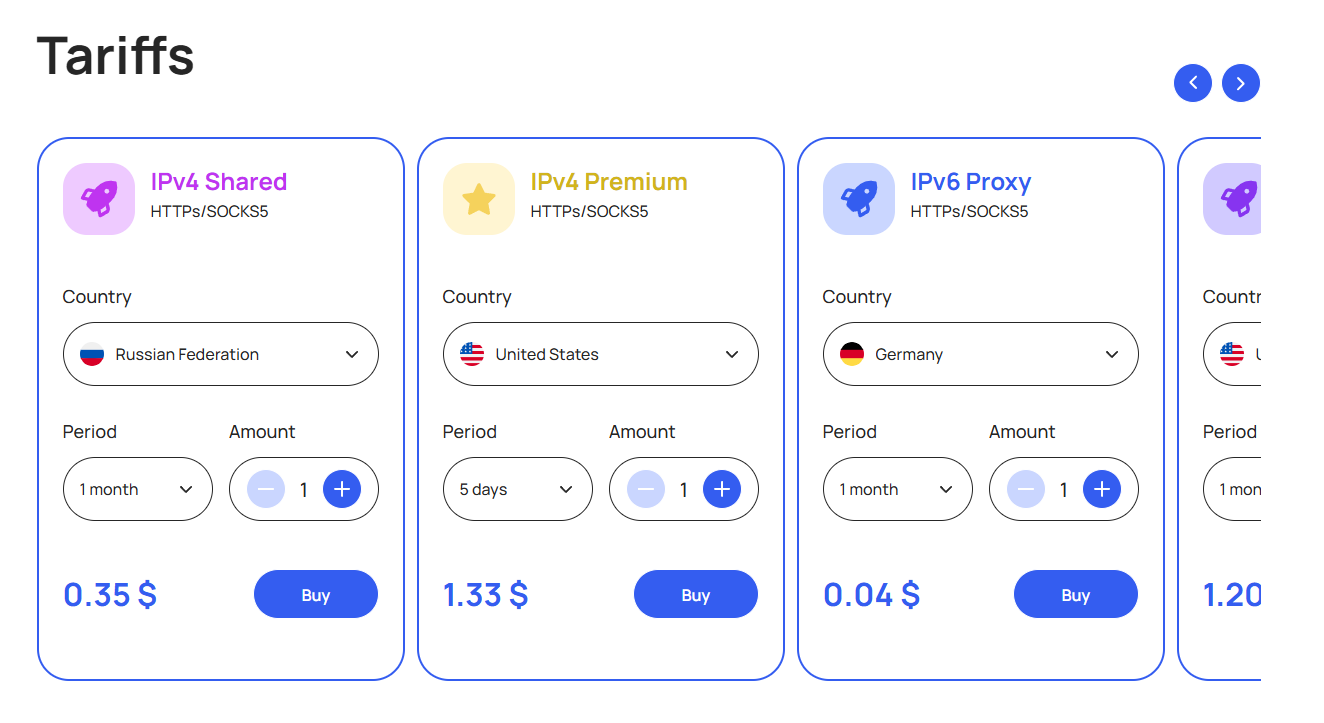
Step 3: Choose a Pricing Plan
Belurk offers various plans tailored to your needs.
 Step 4: Obtain a Proxy
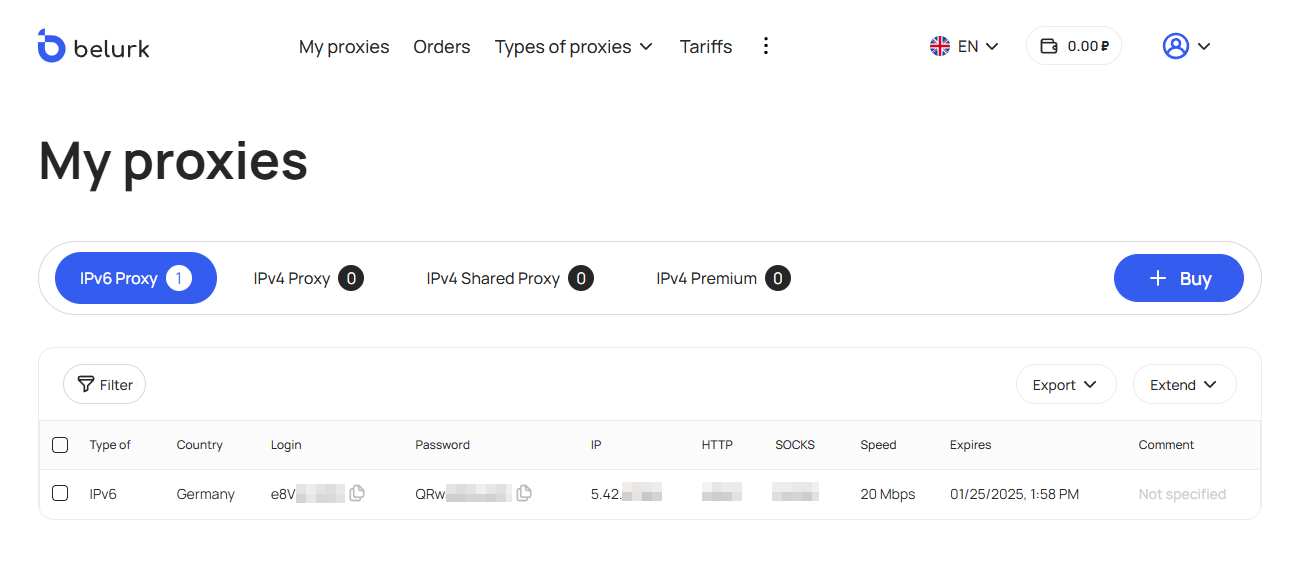
- Log in to your Belurk account.
- Navigate to the proxy server section.
- Select the desired proxy type and specify parameters. Click Generate or Get Proxy.
- Copy the provided settings, including IP address, port, username, and password (if applicable).
 Step 5: Configure the Proxy on Your Device
 - Open your device’s network settings.
- Select proxy server options.
- Enter the copied proxy details (IP address and port).
- Save the changes.
Which Proxy Type is Best for Routers?
Depending on your needs, any proxy type can be used. Here’s a summary of common types:
-
HTTP Proxy:
Processes HTTP requests and works exclusively with web traffic.- Use Case: Ideal for users mainly working with web pages.
-
HTTPS Proxy:
A more secure version of HTTP proxies, encrypting data between your device and the server.- Use Case: Recommended for secure browsing, especially when handling sensitive data.
-
SOCKS Proxy:
Supports multiple protocols, including TCP and UDP, making it versatile for various traffic types.- Use Case: Suitable for streaming, gaming, or peer-to-peer applications.
-
Anonymous Proxy:
Hides your IP address, providing anonymity online.- Use Case: Ideal for privacy-conscious users.
-
Rotating Proxy:
Automatically changes IP addresses after each request or within set intervals.- Use Case: Useful for accessing large volumes of content without the risk of being blocked.
Why Choose Belurk?
- Reliability: High-speed, stable proxy servers with minimal downtime.
- Diversity: Offers multiple proxy types and flexible pricing plans.
- Support: Expert technical support at every step.
- Security: Ensures user anonymity and data confidentiality.
With Belurk, you can access the resources you need and enhance your online experience efficiently.
Try belurk proxy right now
Buy proxies at competitive prices