Static IP address: obtaining, application, and advantages
10.06.2025
A static IP address is a permanent, unchanging IP address assigned to a device or server. This address remains the same every time the device connects to the network. Static IP addresses are typically used for servers that provide services and resources, such as websites or FTP servers, so users can always connect to them using the same address without the need for constant updates.
A dynamic IP address, on the other hand, is temporarily assigned to a device and may change every time it connects to the network. These addresses are usually issued by the Internet Service Provider (ISP) via DHCP (Dynamic Host Configuration Protocol). Dynamic IP addresses are more common for regular users since they do not require a permanent address, and address changes do not impact everyday web browsing.
Main differences between static and dynamic IPs:
- Permanence: Static IP addresses are permanent, while dynamic ones can change periodically.
- Usage: Static IPs are often used for business services and servers; dynamic IPs are for home users and scenarios where a permanent address isn't necessary.
- Setup: Static IPs require manual setup and management, while dynamic IPs are usually assigned and changed automatically by the provider.
- Management: Managing static IPs is more labor-intensive because addresses must be manually tracked and updated, whereas dynamic IPs are managed through centralized DHCP systems.
What is a static IP address used for?
-
Servers and Hosting
If you run a website or provide online services, a static IP allows clients and other resources to always find your server at the same address. -
Remote Access
It enables setting up remote access to devices (such as via VPN) that require a consistent address for connection. -
Gaming Servers
Managing and connecting to gaming servers is easier, offering stable connections for multiple users. -
Network Resource Management
Certain network devices or monitoring systems require a constant IP for more efficient management.
Advantages of a Static IP:
-
Connection Stability
A permanent address ensures a reliable connection to services that need constant access. -
Simplified Setup
Some services and applications are easier to configure and perform better if the IP address does not change. -
Security
Some security systems use static IPs for restricted access, providing stricter control. -
Convenience for DNS Hosting
When using your own DNS, having a permanent address is more reliable.
Disadvantages of a Static IP:
-
Cost
Static IP addresses usually cost more because providers charge extra for allocating a permanent address. -
Privacy Limitation
It’s easier to track device or user activity with a static IP address. -
Management Requirements
Setting up and maintaining a network with static addresses demands more effort and knowledge, as IP conflicts must be resolved manually. -
Potential Vulnerability
A permanent address can be more susceptible to attacks since hackers may find and target it.
How to Get a Static IP Address?
To obtain a static IP address, you need to follow a few simple steps:
-
Contact your Internet Service Provider (ISP)
Most ISPs offer the possibility of obtaining a static IP. It may be an additional service that requires payment. -
Clarify the Terms
Ask the provider about the service cost and technical details (e.g., the number of addresses you can get). -
Set up your equipment
After receiving static IP information from your provider, you will need to manually configure your equipment (such as your router) using the provided parameters.
Typical parameters you will need to specify:
- Static IP address
- Subnet mask
- Default gateway
- DNS servers
Usually, this can be done through your router’s web management interface.
Setting up a Static IP in Windows
Manual IP Address Configuration via Network Connections:
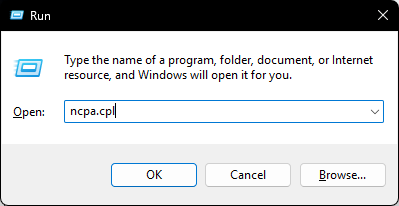
- Press Win + R to open the "Run" dialog box. Type
ncpa.cpland click OK.
- Find your network adapter, right-click it, and select Properties.

-
In the list of available items, select Internet Protocol Version 4 (TCP/IPv4) and click Properties.
-
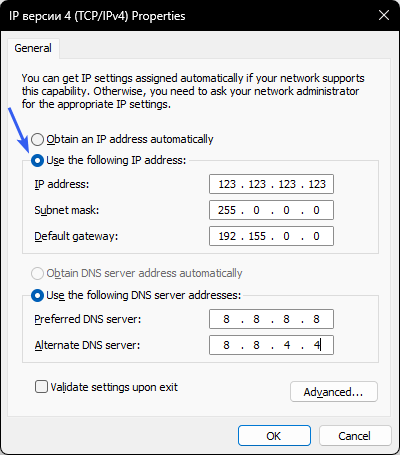
IP Address Specification:
- Select Use the following IP address and fill in the fields.
- Enter the current IP address provided by your ISP.
- Subnet mask: usually 255.255.255.0.
- Enter your router’s interface address (this can be found in your contract with your ISP).
- DNS Server Specification: Select Use the following DNS server addresses and enter:
- Preferred DNS server: 8.8.8.8 (Google DNS)
- Alternate DNS server: 8.8.4.4 (Google DNS)
- Save Changes: After filling in all fields, click OK to save the settings.
That's it! Your IP address is now configured.
How to Set an IP Address Using Command Prompt:
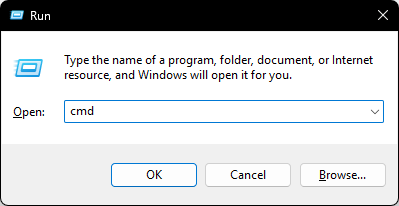
- Press Win + R, type
cmd, then click OK.
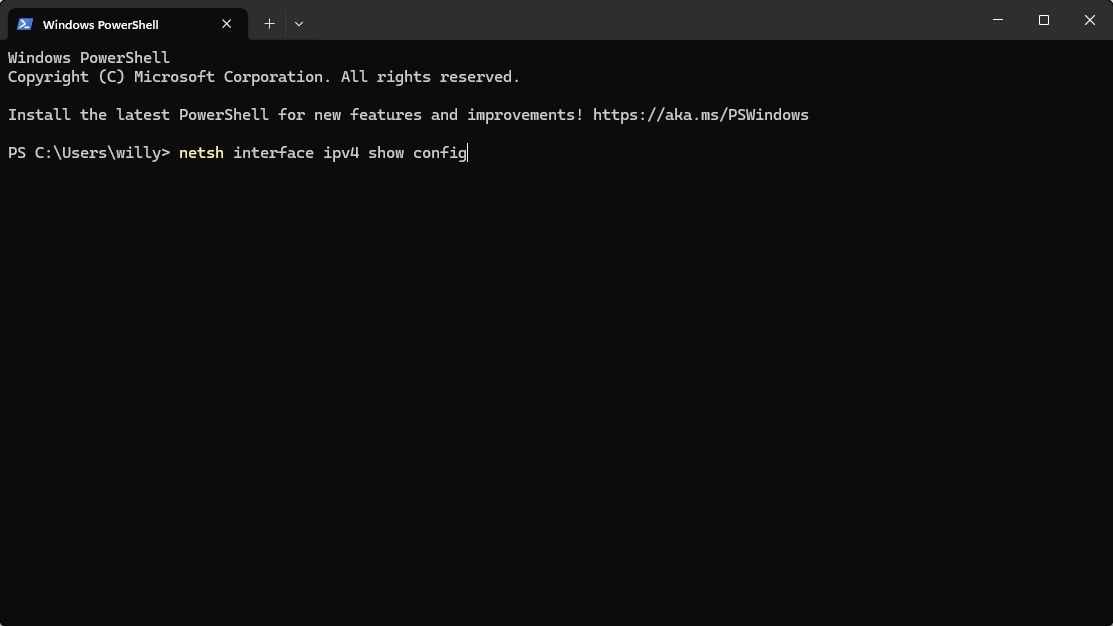
- Enter the following command to find the name of your network connection:
netsh interface ipv4 show config
- Enter the following command to set a new IP address:
netsh interface ipv4 set address name="NetworkName" static 123.123.123.123 255.255.255.0 192.168.0.1
Where:
- NetworkName — the name of your network connection
- 123.123.123.123 — desired IP address
- 255.255.255.0 — subnet mask
- 192.168.0.1 — default gateway
- Use these commands to set DNS:
netsh interface ipv4 set dns name="NetworkName" static 8.8.8.8
netsh interface ipv4 add dns name="NetworkName" 8.8.4.4 index=2
Now your IP address is configured via the command line. Done!
Setting up a Static IP on Mac OS
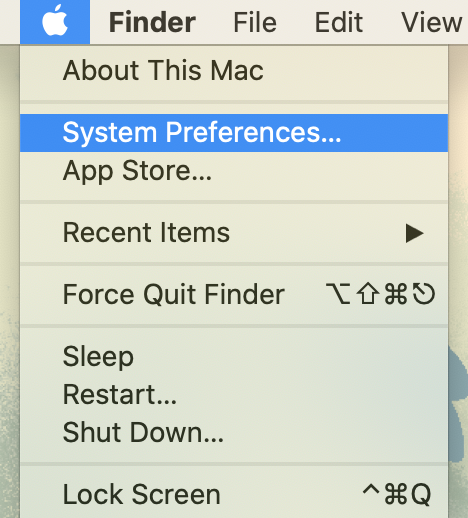
- Click the Apple icon in the upper-left corner of your screen and select System Preferences.
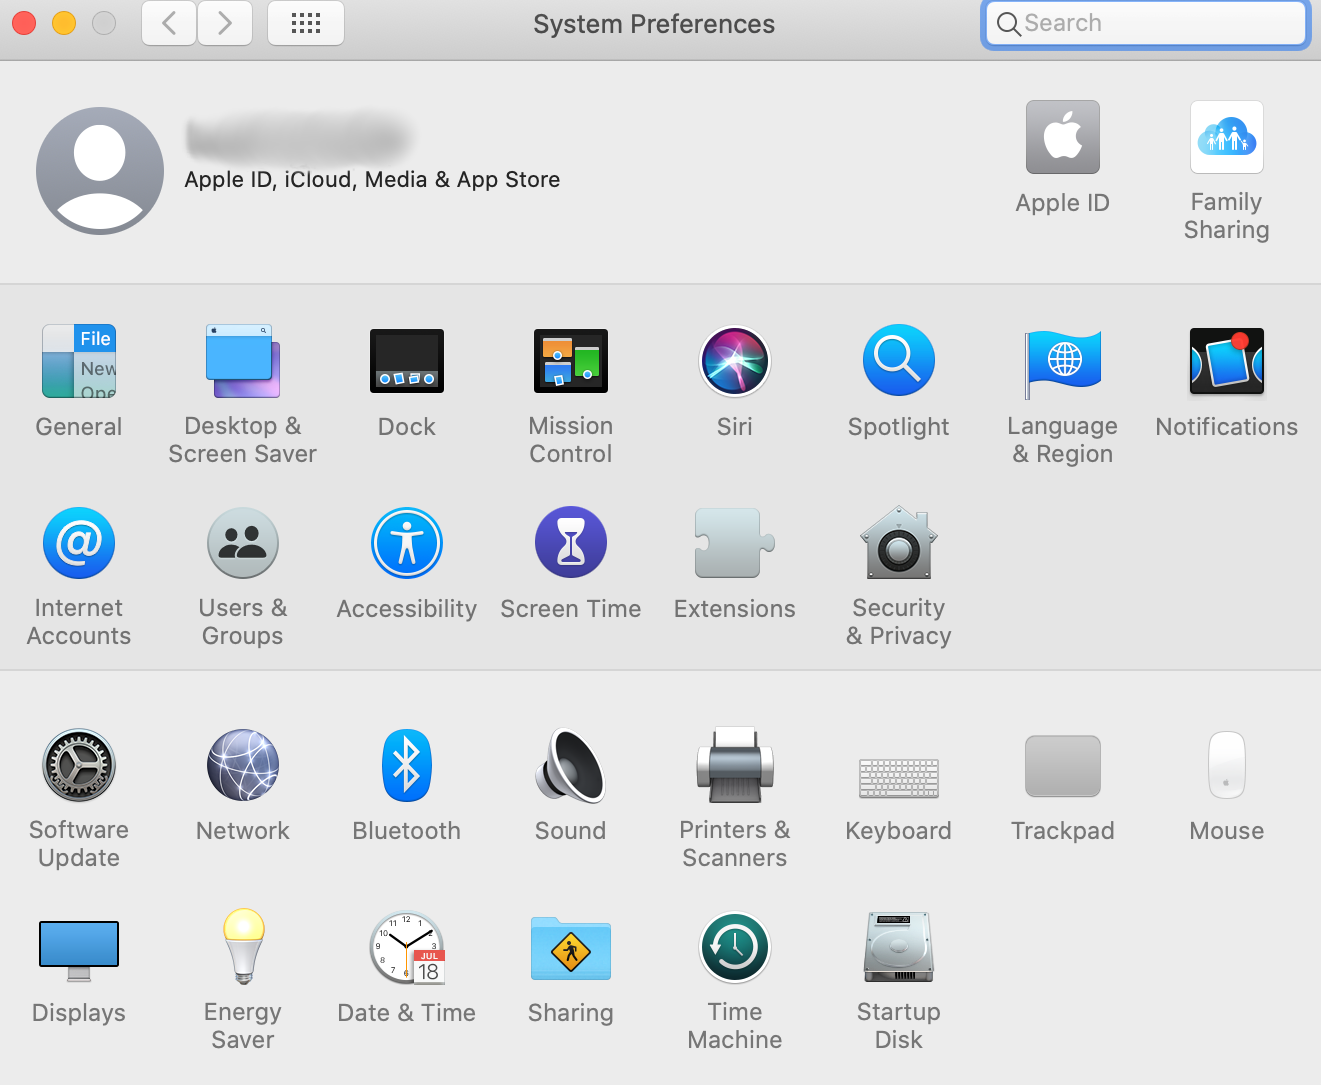
- In the window that opens, select Network.
- In the list of available connections, find and select the one you want to configure.
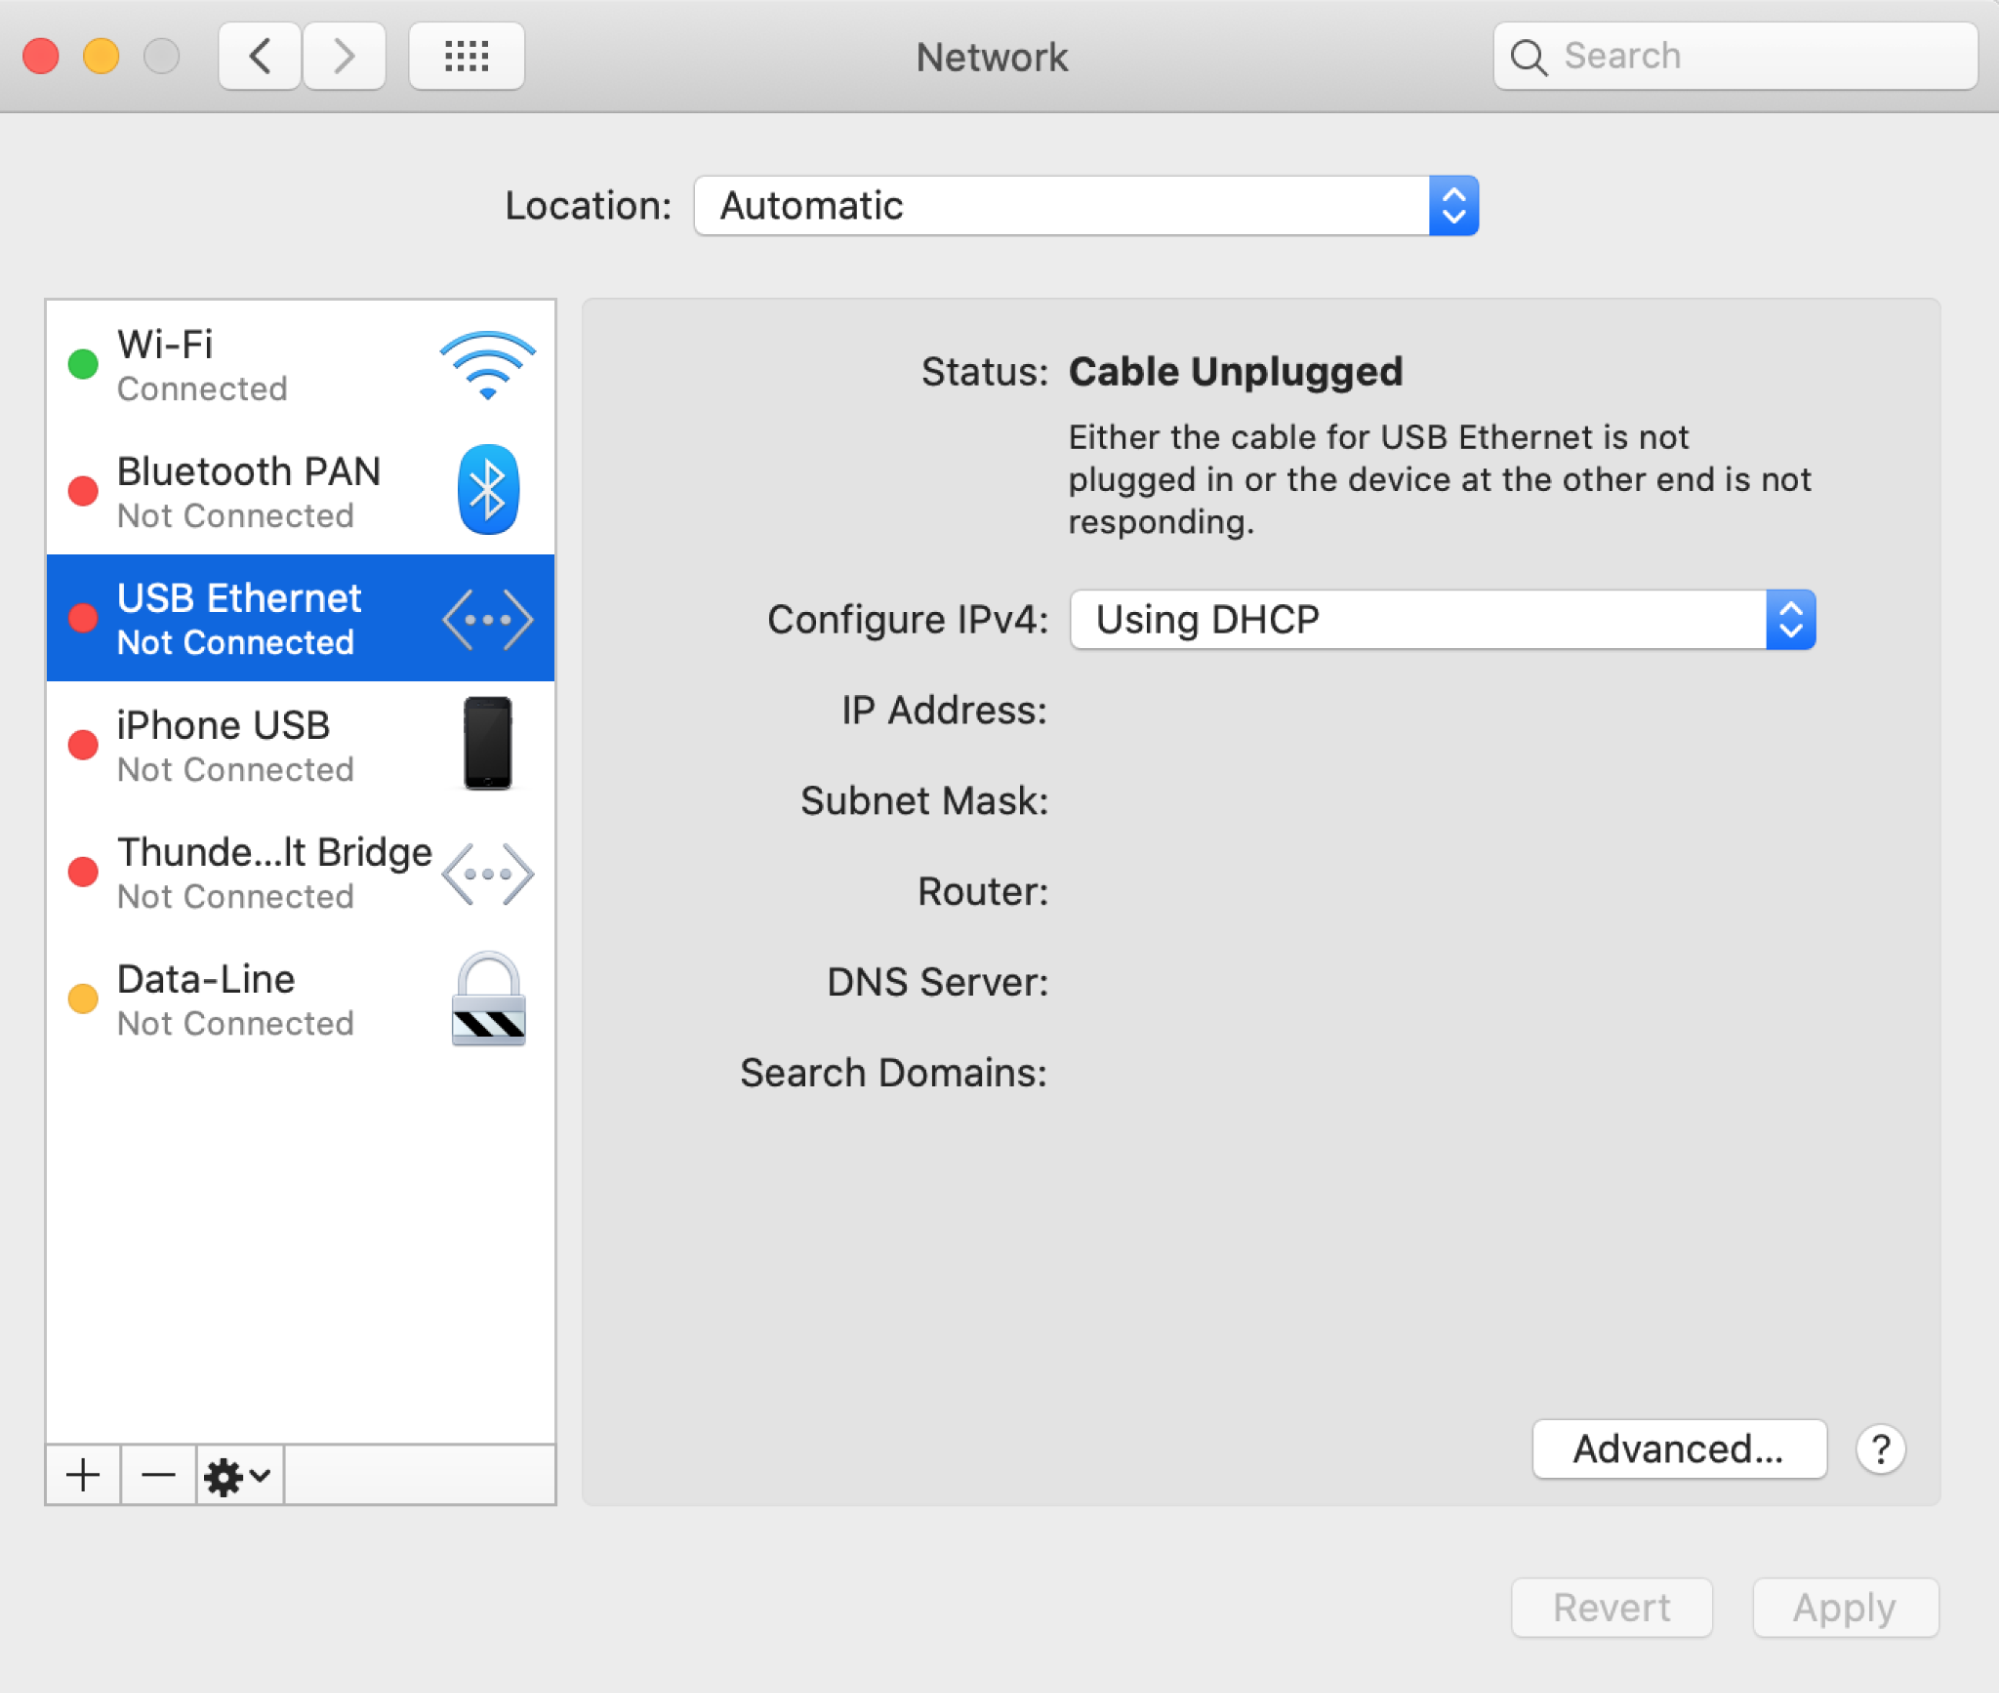
-
In the Configure IPv4 section, choose Manually.
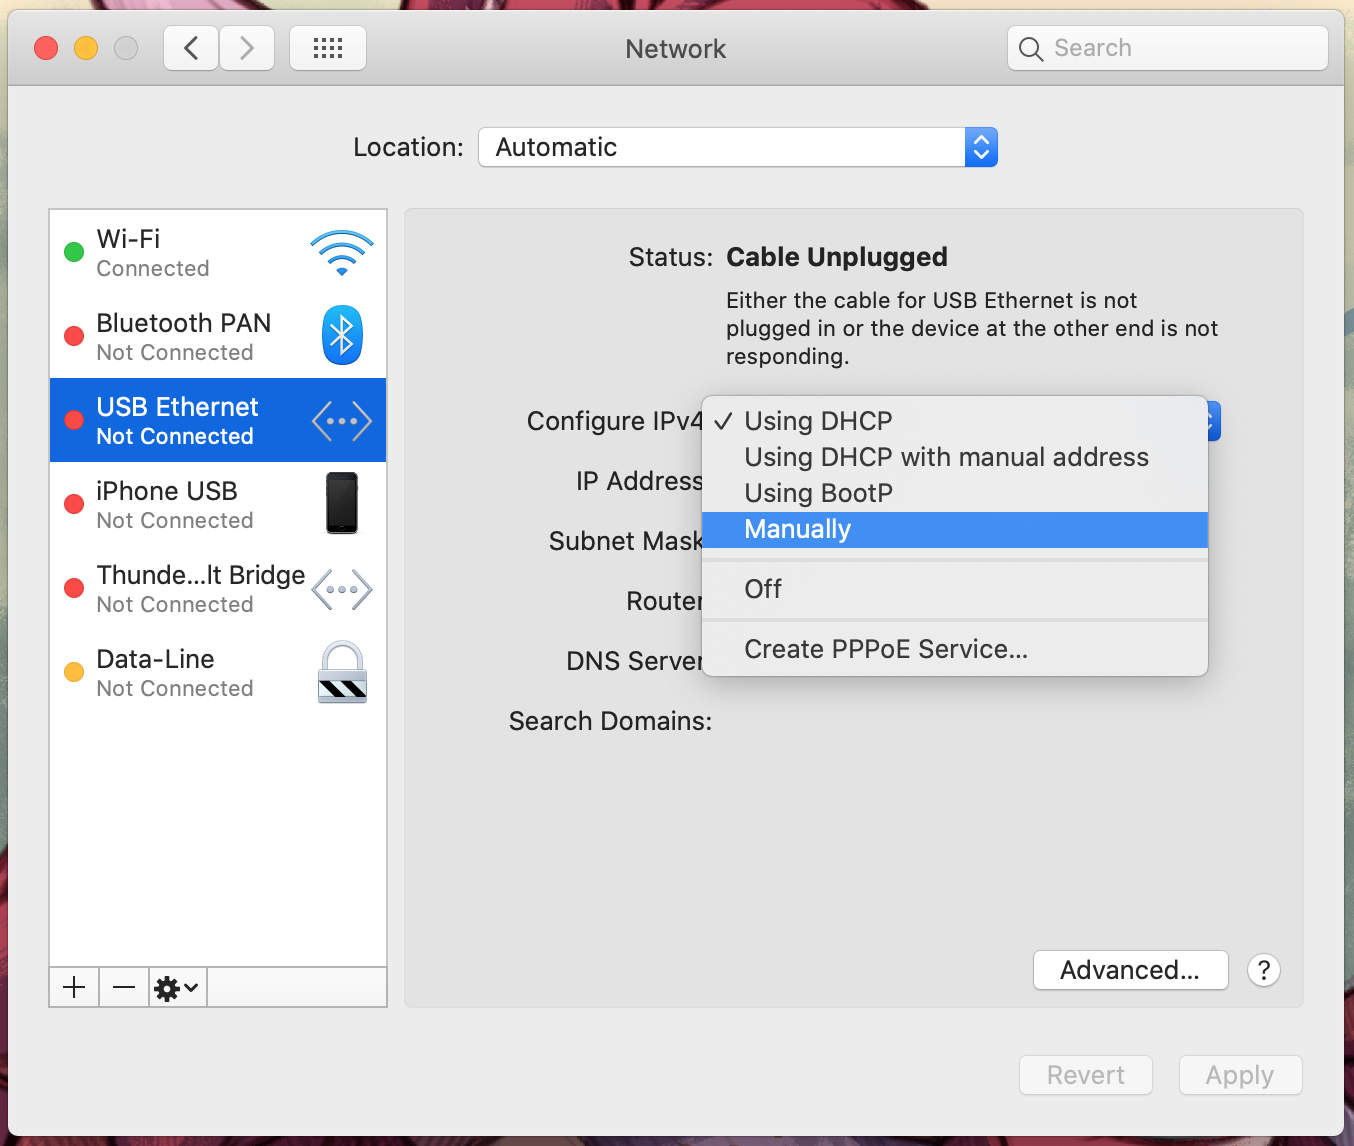
-
Enter the necessary data, such as IP address, subnet mask, and default gateway. Then click Apply.
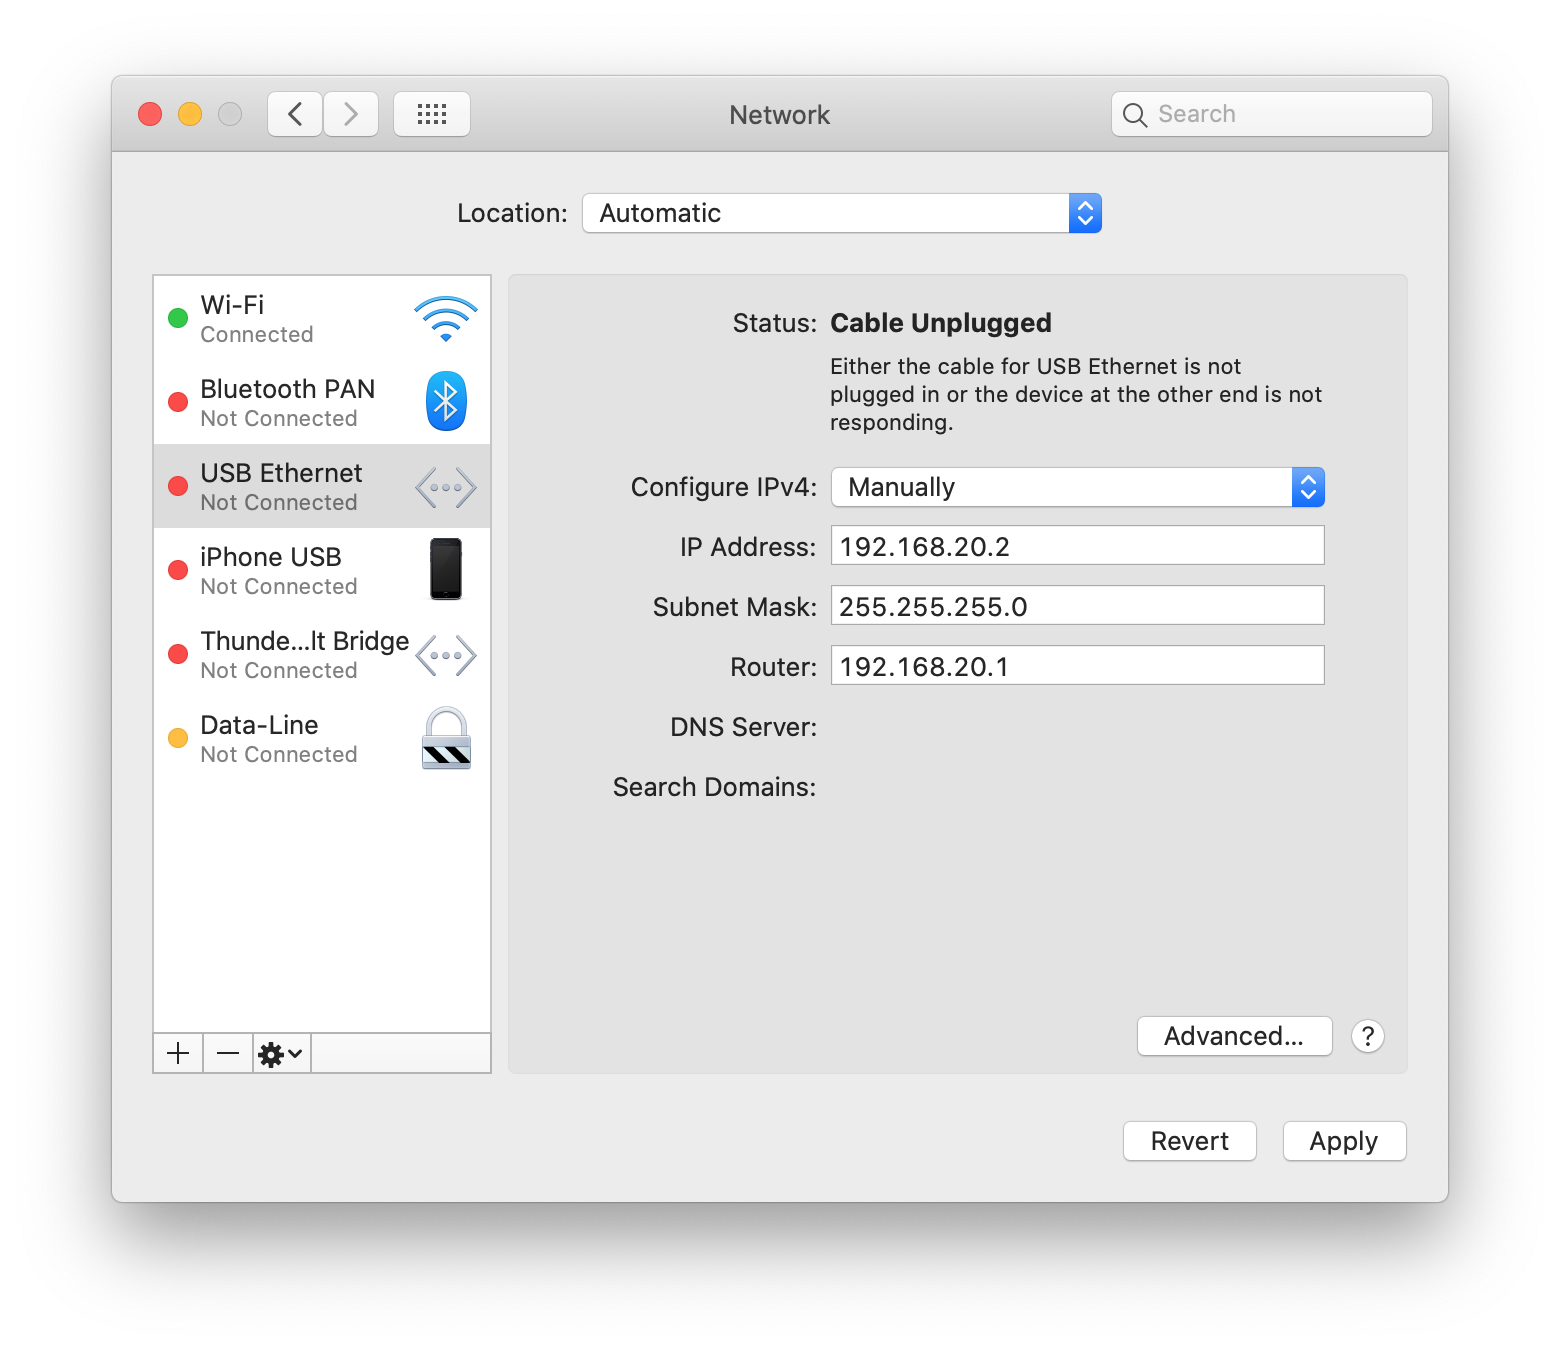
- Setting DNS Servers: Click Advanced..., go to the DNS tab, and specify the desired DNS servers.

- Save Changes: Click OK and close the settings window.
Now check your connection — everything is set up!
Try belurk proxy right now
Buy proxies at competitive prices
Buy a proxy